You will be happy to know that I FINALLY bought myself a big girl camera! I'm insanely excited about this....I bet you are too, especially if you've been reading my posts and cringing at my awful, grainy, blurry iPhone and iPad photos!
If you read my post a few weeks back, I was looking at getting a little pocket camera. Nothing fancy, just a point and shoot. I'm in no means a photographer, nor do I have any idea about cameras. I just want to point and shoot....no fuss.
Everyone that replied to my question, on here as well as on my Instagram, all recommended I get a DSLR, however, just that abbreviation alone scared the crap out me and I kept leaning back toward the el cheapo digital pocket camera.
Before ditching the idea altogether, I did a little research on some DSLR cameras (that I later learned stands for Digital Single Lens Reflex - gah! Complex stuff right there!!!).
I had a few brands that I looked at but I think the Canon stood out for me - not sure why, I was honestly going off a gut feeling, because I have absolutely zero camera knowledge.
I ended up picking up a DSLR camera in pristine condition on eBay for an absolute bargain.
I got a Canon EOS 450D / Digital Rebel XSi. It has 12.2 mega pixels and it came with a 18 - 55mm IS lens. The seller was absolutely awesome and he threw in a Canon EF 75 - 300mm zoom lens and a Manfrotto Tripod. Merry Christmas to me!!
He was super sweet and gave me a full run down on how everything worked on it, tips and tricks etc. That was much needed.... I feel somewhat a little more comfortable with the camera at least now!
I had a bit of a play with it today and cannot WAIT to get some more great shots with it.
The photos just so not even compare to my iphone pictures now. They hit them out of the park! Yew!
Thanks to everyone who pushed me in the direction of a REAL camera.
I'm looking forward to being able to get photos printed and blown up with them not being grainy and terrible.
My family better get used to having a camera jammed in their faces..... I'm going to get all paparazzi up in here!
*********************************************************************************
Today, the kids and I went for a walk to take a few snaps. I was absolutely stoked at the results and quality of them (not hard comparing to iPhone pictures I suppose) but for a non-photographer, I think I got some pretty cool snaps of the kids.
I am busting to finish typing this post so I can get to the uploading! I can't wait to see the difference….
Here it goes………!
NOTE - I was originally going to write a rather lengthy post about the making of this dress, however, I've been busy, so I thought I'd just add the photos of it here and merge the new camera/pinafore dress into one post.
This is a dress that I made for my daughter recently. I used a New Look pattern that I scored from an op shop for about $2.


It's a gorgeous little dress. It has buttons on either side of the bodice as well as one button on the top left shoulder.
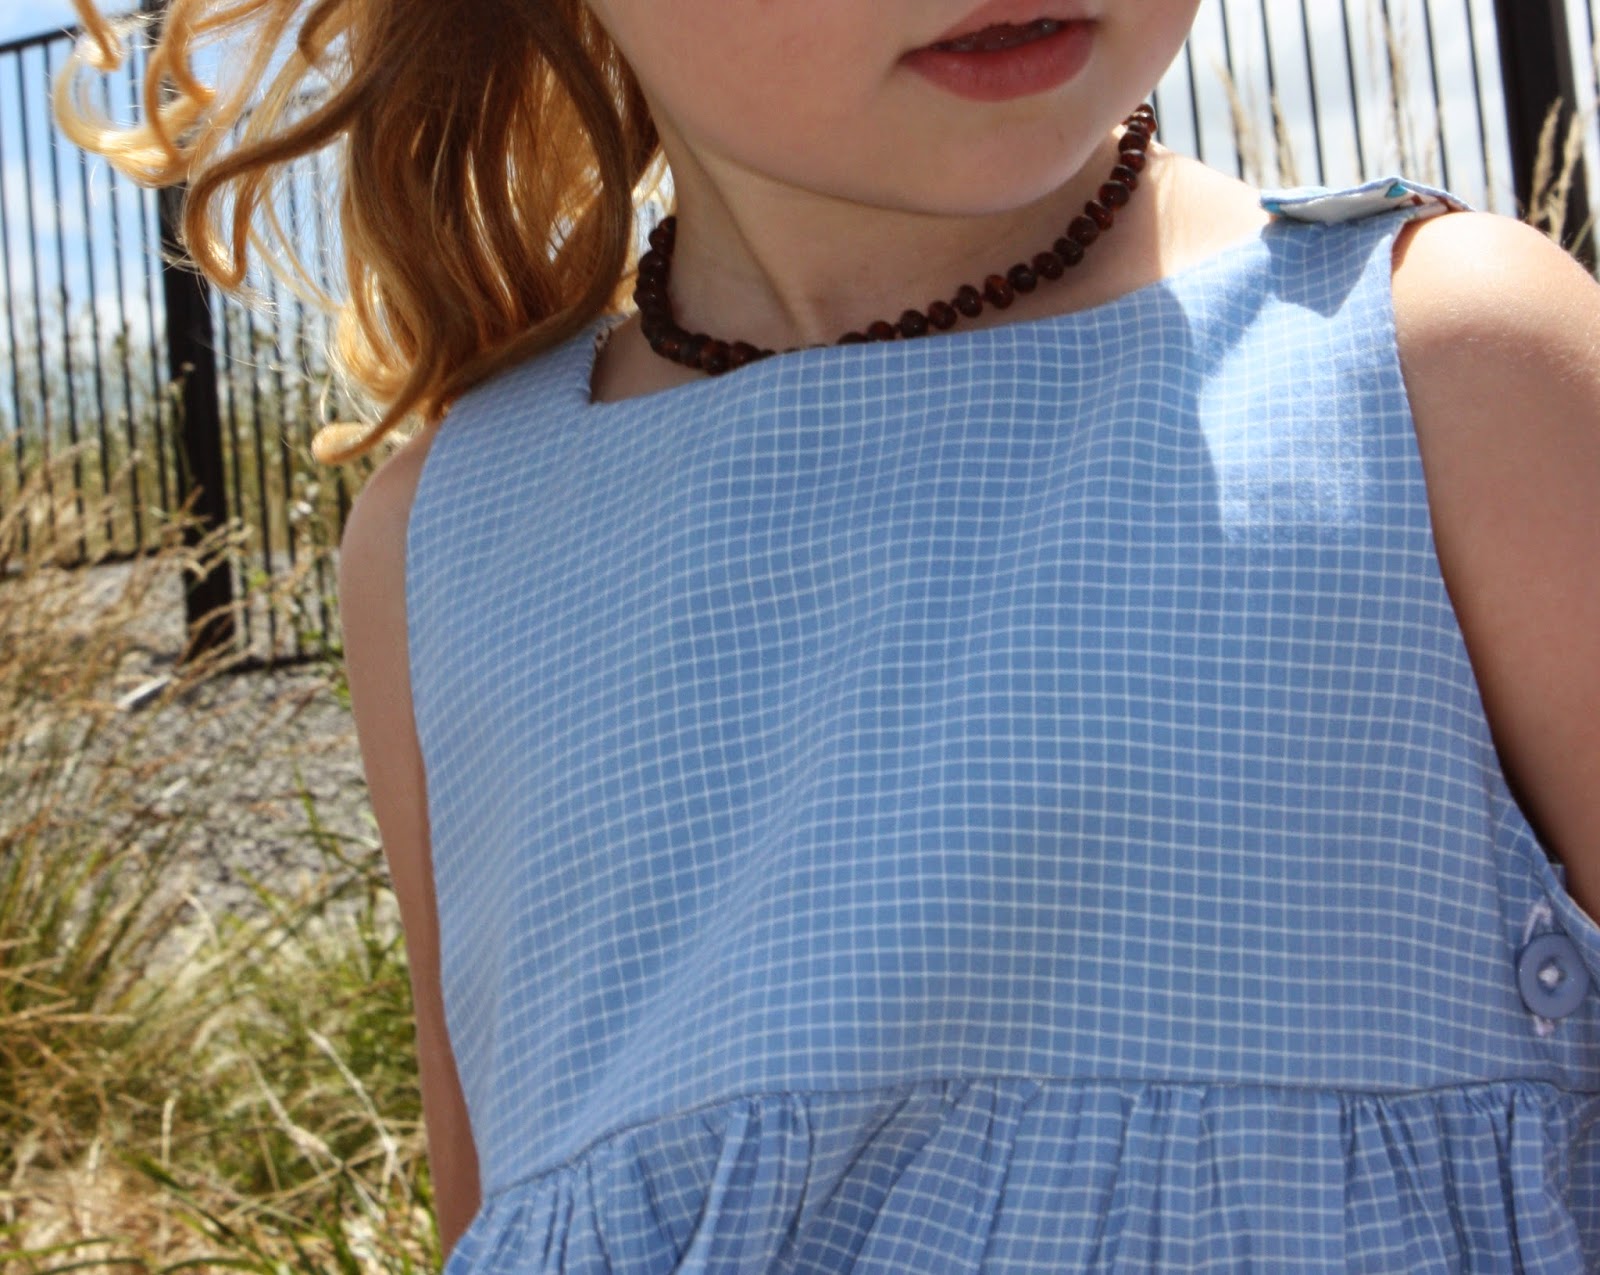
It's a perfect little dress for summer! Nice and breezy. I made it with some op shop fabric also. Its a lightweight cotton.

Here is a bird, photo bombing my son...

Last one…. A photo my eldest son took of my daughter and I.

I am over the moon with the quality of the camera and the photos!!!!! Best investment ever :-D
I'd love to hear your thoughts!
*********************************************************************************
Today, the kids and I went for a walk to take a few snaps. I was absolutely stoked at the results and quality of them (not hard comparing to iPhone pictures I suppose) but for a non-photographer, I think I got some pretty cool snaps of the kids.
I am busting to finish typing this post so I can get to the uploading! I can't wait to see the difference….
Here it goes………!
NOTE - I was originally going to write a rather lengthy post about the making of this dress, however, I've been busy, so I thought I'd just add the photos of it here and merge the new camera/pinafore dress into one post.
This is a dress that I made for my daughter recently. I used a New Look pattern that I scored from an op shop for about $2.
Excuse the terrible ironing job, it was a bit 'hurry up an put this on so we can go take some photos!!!'.
It's a gorgeous little dress. It has buttons on either side of the bodice as well as one button on the top left shoulder.
It's a perfect little dress for summer! Nice and breezy. I made it with some op shop fabric also. Its a lightweight cotton.
Here is a bird, photo bombing my son...
Last one…. A photo my eldest son took of my daughter and I.
I am over the moon with the quality of the camera and the photos!!!!! Best investment ever :-D
I'd love to hear your thoughts!