Showing posts with label easy sewing. Show all posts

Friday, 12 December 2014

Say Cheese!

Well, ladies and gentlemen... I have some wonderful news….


You will be happy to know that I FINALLY bought myself a big girl camera! I'm insanely excited about this....I bet you are too, especially if you've been reading my posts and cringing at my awful, grainy, blurry iPhone and iPad photos!

If you read my post a few weeks back, I was looking at getting a little pocket camera. Nothing fancy, just a point and shoot. I'm in no means a photographer, nor do I have any idea about cameras. I just want to point and shoot....no fuss.

Everyone that replied to my question, on here as well as on my Instagram, all recommended I get a DSLR, however, just that abbreviation alone scared the crap out me and I kept leaning back toward the el cheapo digital pocket camera.

Before ditching the idea altogether, I did a little research on some DSLR cameras (that I later learned stands for Digital Single Lens Reflex - gah! Complex stuff right there!!!).

I had a few brands that I looked at but I think the Canon stood out for me - not sure why, I was honestly going off a gut feeling, because I have absolutely zero camera knowledge.

I ended up picking up a DSLR camera in pristine condition on eBay for an absolute bargain. 
I got a Canon EOS 450D / Digital Rebel XSi. It has 12.2 mega pixels and it came with a 18 - 55mm IS lens. The seller was absolutely awesome and he threw in a Canon EF 75 - 300mm zoom lens and a Manfrotto Tripod.  Merry Christmas to me!!

He was super sweet and gave me a full run down on how everything worked on it, tips and tricks etc. That was much needed.... I feel somewhat a little more comfortable with the camera at least now!

I had a bit of a play with it today and cannot WAIT to get some more great shots with it.
The photos just so not even compare to my iphone pictures now. They hit them out of the park! Yew!

Thanks to everyone who pushed me in the direction of a REAL camera.

I'm looking forward to being able to get photos printed and blown up with them not being grainy and terrible. 

My family better get used to having a camera jammed in their faces..... I'm going to get all paparazzi up in here!

*********************************************************************************


Today, the kids and I went for a walk to take a few snaps. I was absolutely stoked at the results and quality of them (not hard comparing to iPhone pictures I suppose) but for a non-photographer, I think I got some pretty cool snaps of the kids.

I am busting to finish typing this post so I can get to the uploading! I can't wait to see the difference…. 

Here it goes………!

NOTE - I was originally going to write a rather lengthy post about the making of this dress, however, I've been busy, so I thought I'd just add the photos of it here and merge the new camera/pinafore dress into one post.


This is a dress that I made for my daughter recently. I used a New Look pattern that I scored from an op shop for about $2.


Excuse the terrible ironing job, it was a bit 'hurry up an put this on so we can go take some photos!!!'. 


It's a gorgeous little dress. It has buttons on either side of the bodice as well as one button on the top left shoulder.


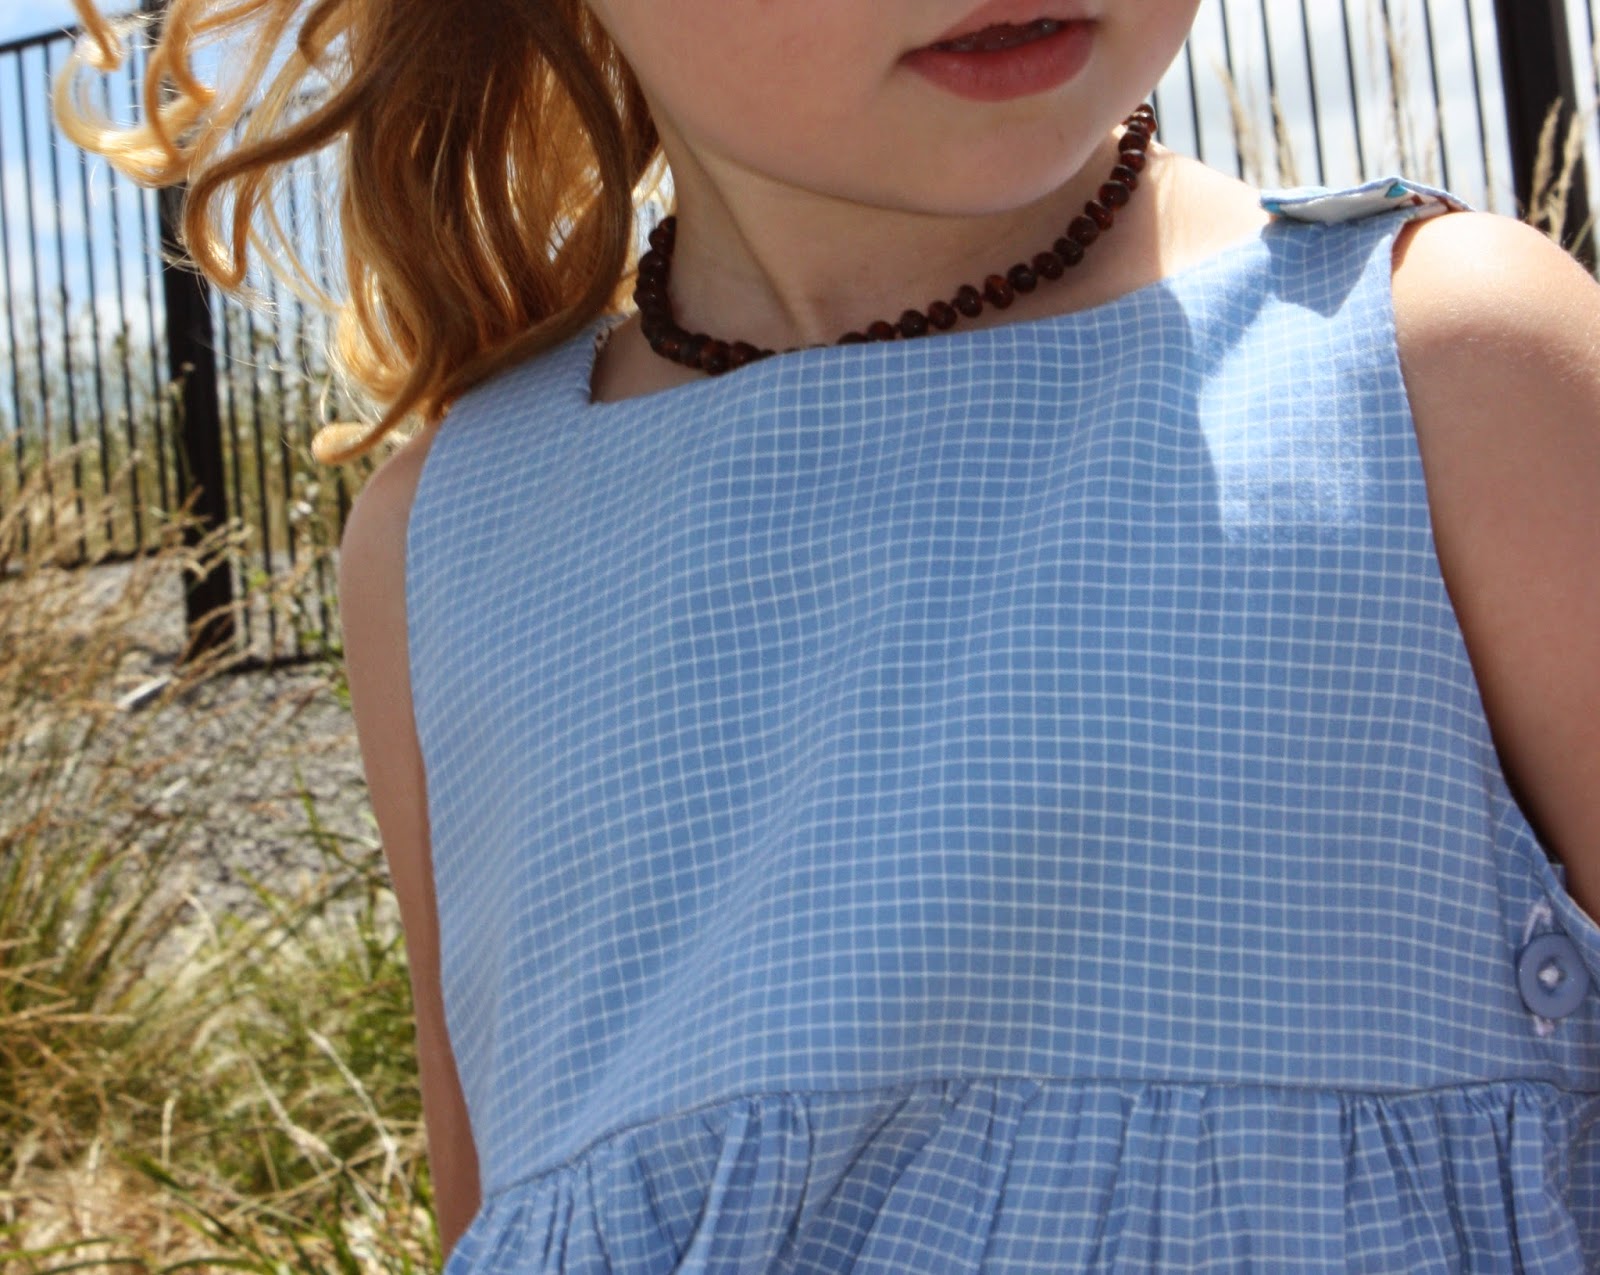
It's a perfect little dress for summer! Nice and breezy. I made it with some op shop fabric also. Its a lightweight cotton.


Here is a bird, photo bombing my son...


Last one…. A photo my eldest son took of my daughter and I.


I am over the moon with the quality of the camera and the photos!!!!! Best investment ever :-D


I'd love to hear your thoughts!


Friday, 31 October 2014

Handmade Scrap Doll (Lalaloopsy Style)


This doll was made entirely of things I had around the house. To be honest, I'm a bit proud of how she turned out!


I made her legs out of some left over fabric scraps. Her head, body and arms were made from an old white, long sleeved top of mine that was too small.  I cut the arms off my top and with a grey lead pencil, drew a rough outline of the shapes I needed for the body parts.

I stuffed the inside of the doll with the filling from a cushion that I never got around to making a cover for, oops! Now I guess I need to make more dolls to make use of the half cut open cushion ;-)

I pulled a single thread (out of 3) from a ball of black wool, to stitch her button eyes on, as well as her eyelashes and mouth. I gave her a Lalaloopsy style face. It was so easy to re-create!

I cut the pink circles for her cheeks from an old pillowcase. I just used white cotton thread to stitch on her rosy pink cheeks, in a rustic, scrap doll kind of way!

I put an icy pole stick inside her head/neck, to keep her head upright, seeing that she is a little top heavy! Then I hand stitched her head to her neck for more support.

Her arms and legs were all hand stitched to her body.

I cut lengths of black wool to create her hair and then sewed it down the middle to create a 'part' for her. I used some PVA glue to hold it all down on her head. I then plaited her pig-tails when the glue was dry.

Her outfit was created with no pattern either. I cut up one of my husbands old cotton work shirts for the black bodice and I used some white tulle left over from our wedding for the tutu skirt. I also cut out a heart from the same pillow case that I used for her pink cheeks.

I made the dress with a closure at the back and used stick on velcro. I ran the overlocker around the edges of the black dress neckline for a little bit of detail.


My daughter absolutely LOVES this doll. She named it 'Marcelene' because she thinks it looks like Marcelene from Adventure Time. 


Thursday, 16 October 2014

Sour Cherry Short Shorts


Hi there!

I bought this awesome cherry fabric months and months ago and never got around to making it into anything....until today!

It rained all day, so I figured it was a perfect day to stay in my pjs and just bum around the house! I sat at my sewing machine for a while, thinking....procrastinating and digging through my fabric boxes hoping something would 'jump' out at me.
The cherry fabric, did just that, so I whipped it out and thought I'd make my daughter a dress from it.
I flicked through various little girls dress patterns, but couldn't find the particular style I had in mind, sooooo, I thought 'SHORTS' for me!

I don't have any sewing patterns for ladies shorts, so I decided to experiment a little!

Grab a cuppa and read on! This is how I made them.....


Ladies Sour Cherry Shorts Tutorial

1. Find a pair of shorts that fit you well. I chose this old pair of shorts that I usually only wear around the house. I like the length and fit of them.

 Fold them in half and flatten them out, making sure you can see the shape clearly. Place them on top of your fabric and cut around them. Don't forget to cut a few centimetres bigger, allowing for seam allowances.

 Follow this method for the back of the shorts too. 


2. Once you have cut out the front and back shapes, turn the piece over and cut 1x front & 1x back on the reverse side. You will have 4x pieces in total.


3. Take 1 back piece and 1 front piece, place them right sides together and pin the crotch area.

Repeat on the remaining 2 pieces.


4. Sew the crotch area together on both pieces. 

(I sewed a basic straight line, then went over it with a zigzag stitch and trimmed the edges. You could use an overlocker if you prefer.)


You should now have 2 pieces that look like this.... 


5. Place the 2 pieces with the right sides together. Pin and sew the whole way around the "U" shape. Finish seams with a zigzag stitch or by using an overlocker.


6. I like to press all the seams with the iron and then use a basic stitch to hold them down. It gives a neat finish on the final product.


Don't mind my wonky stitching, I had to keep stopping and starting to break up fights between my kids. You get the idea though.....it gives a top stitching effect to the right side of the garment.


7. Turn your fabric the right way out and admire! Really looking like shorts now!


8. Place the right sides together again and pin the sides of your shorts. Stitch them together and finish the seams.


9. Fold and press the hem of the shorts 1/4 of an inch, then fold over again another 1/4 inch, press and pin. Repeat on other leg.


10. Top stitch the hems. I just used the edge of the presser foot as a guide.


Top stitching again....


Now, to make your waistband!

11. Measure your waist and cut a string long enough for you. Make sure you allow enough room to be able to thread your elastic through!

Fold in half lengthways with the wrong sides together. Press and pin the raw edges and sew them together with a basic stitch. Don't forget to leave the short ends open!


12. Pin the raw edge of the waistband to the outside of the shorts. Imagine that when the waistband is folded up that the seams will be hidden insde the shorts.

13. Sew the waistband along where you have pinned and finish the seams.


14.  Measure some waistband elastic on yourself then, using a safety pin, thread it through the ends if the waistband.

15. Once the ends are through, secure the elastic with a strong stitch on your machine and then stitch the open ends closed.


Ta da! You are finished!! 


16. Press and admire your new shorts!!! 


I love mine!!! I love that I can dress them up and I can dress them down!